Table of Contents
ToggleEver wondered what happens when you hit that magical “render” button on your iPhone? It’s like sending your video on a spa day, transforming it from a rough draft into a polished masterpiece. But what does rendering really mean? In simple terms, it’s the process of taking all those clips, edits, and effects and turning them into a single, smooth video that’s ready for the world to see.
Understanding Rendered Videos
Rendered videos represent the final output after processing and compiling various elements. This process creates a polished product ready for distribution.
Definition of Rendered Video
A rendered video consists of multiple clips combined with transitions, effects, and edits. Rendering transforms these components into a singular video file. This file format can vary, including options like MP4 or MOV. Quality relies on settings such as resolution and frame rate. In essence, rendering encapsulates all creative choices made during editing into a viewable format.
Importance of Rendering
Rendering serves several crucial purposes. Firstly, it ensures that all edits and effects appear seamless in the final video. Smooth playback depends on this step, as unrendered footage can exhibit glitches or inconsistencies. Secondly, rendered videos optimize file size and format for sharing on platforms like YouTube or social media. Sharing high-quality visuals influences audience engagement positively. Lastly, rendering allows for final reviews, enabling creators to assess and refine their work before public release.
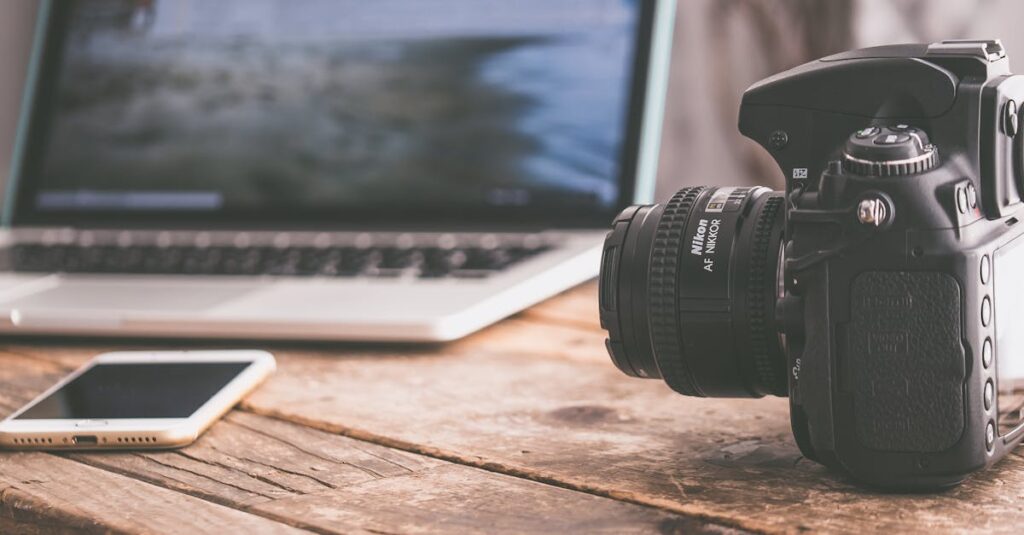
Rendering Process on iPhone
Rendering converts multiple video clips and edits into a single polished output ready for sharing. This process includes several important steps and uses various tools to achieve high-quality results.
Steps to Render a Video
To start, users select the video project within their editing application. Next, they adjust settings like resolution and frame rate to ensure optimal quality. After setting preferences, the user initiates the rendering process, which can take varying times based on project complexity. During rendering, the device compiles all selected clips, effects, and transitions into one file. Finally, the finished product appears in the chosen format, making it accessible for sharing.
Tools and Applications for Rendering
Numerous applications facilitate video rendering on iPhone. Popular choices include iMovie, a user-friendly tool for beginners, and Final Cut Pro, which caters to professionals. Other options like Adobe Premiere Rush offer cross-platform editing capabilities. Each application features unique tools for adjustments, color grading, and audio enhancements. These functionalities provide users the flexibility to create professional-quality videos directly on their iPhones.
Benefits of Rendered Videos on iPhone
Rendered videos on the iPhone offer multiple advantages, enhancing the overall video production experience.
Enhanced Quality
Enhanced quality stands out as a primary benefit of rendered videos. This process optimizes clips, effects, and transitions, resulting in a polished final product. Users notice improvements in sharpness, color accuracy, and audio fidelity. Creating a seamless viewing experience becomes achievable through this refinement. Various applications, including iMovie and Final Cut Pro, provide tools for adjustments that elevate video standards. Utilizing these tools ensures higher resolutions, often at 1080p or even 4K, which cater to different content consumption environments.
Sharing and Compatibility
Sharing and compatibility provide significant advantages for rendered videos. Choosing formats like MP4 or MOV guarantees that videos work across various platforms without issues. Users enjoy easier uploads to social media, websites, and video-sharing platforms. With optimized file sizes, sharing becomes efficient, preserving quality while minimizing data usage. Rendered videos also ensure compatibility with both iOS and non-iOS devices, increasing audience reach. Flexibility remains vital, as creators often aim to present their work across multiple channels.
Common Challenges and Solutions
Rendering a video on an iPhone may present several challenges. Users often encounter issues related to processing speed and app crashes during the rendering process.
Issues in Rendering
Slow performance commonly affects rendering time. Large projects with high-resolution clips may take longer to process, leading to frustration. Some users report crashes or freezing when using resource-intensive applications. Occasionally, insufficient storage space can halt rendering. Outdated software may also contribute to unexpected errors or subpar video quality. Users frequently face difficulties with exported file formats that aren’t compatible with certain platforms.
Tips for Successful Rendering
Optimizing rendering starts with checking storage capacity. Ensuring enough free space promotes smoother processing. Regularly updating apps and the iPhone’s operating system helps prevent crashes. Utilizing lower resolutions for previews can speed up the rendering process. Applying minimal effects simplifies the project, making rendering quicker and less complicated. Finally, rendering during off-peak hours can reduce the likelihood of interruptions.
Rendered videos on an iPhone represent the culmination of creativity and technical skill. The process transforms raw footage into a polished final product ready for sharing with the world. By optimizing quality and ensuring compatibility across platforms, rendered videos enhance the viewing experience for audiences.
Understanding the rendering process is essential for anyone looking to produce high-quality content. With the right tools and techniques, creators can overcome common challenges and achieve impressive results. Embracing the capabilities of iPhone video editing apps empowers users to tell their stories effectively and reach a broader audience.